|
Recipe Difficulty: Easy
Recipe Tags:
What is Socca?
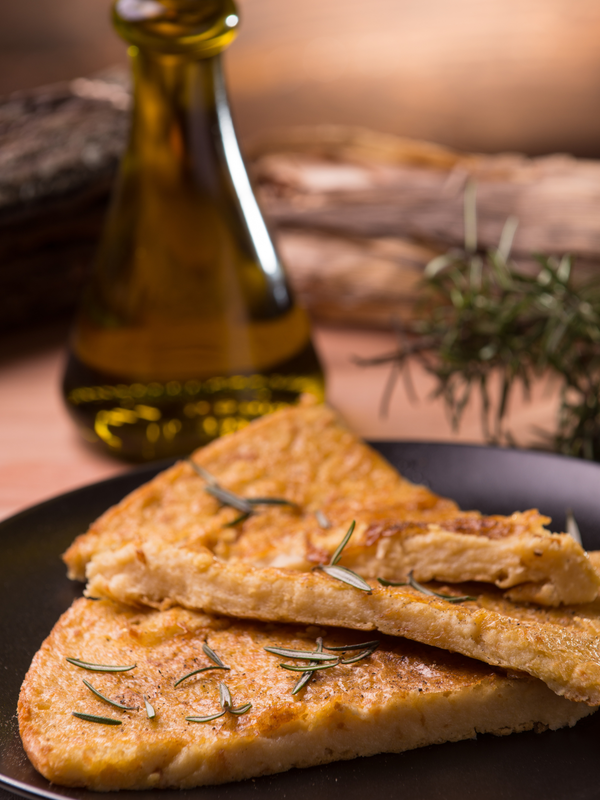
Socca is a traditional chickpea flour-based dish from the Provence region of France. It is also known as farinata in Italy, and panisse in the Niçoise dialect. It is typically made by mixing chickpea flour, water, olive oil, and salt to form a batter, which is then cooked in a large, round, shallow pan to create a thin, crispy flatbread. Socca can be served as a snack or appetizer, and is sometimes topped with herbs, spices, or other ingredients before being served. The origin of socca can be traced back to ancient civilizations, specifically the region of present-day Liguria, Italy, where it is believed to have been consumed by the Genoese and Ligurian people for centuries. The dish made its way to the Provence region of France in the 19th century, and it has since become a staple of the local cuisine. Traditionally, socca was considered a poor man's food as it is made from inexpensive ingredients and can be easily prepared. It was often sold as street food in the markets of Nice and other cities in the Provence region of France. Today, it is enjoyed by people of all backgrounds and is a popular dish in the Mediterranean cuisine. It is also a gluten-free option for people who are gluten intolerant. Socca is a great alternative to wheat-based flatbreads and pizza crusts, and can be enjoyed in a variety of ways, including as a savory or sweet dish.
You can find chickpea flour in lots of supermarket these days, or available online if you have trouble finding it locally.
My Socca Recipe Notes
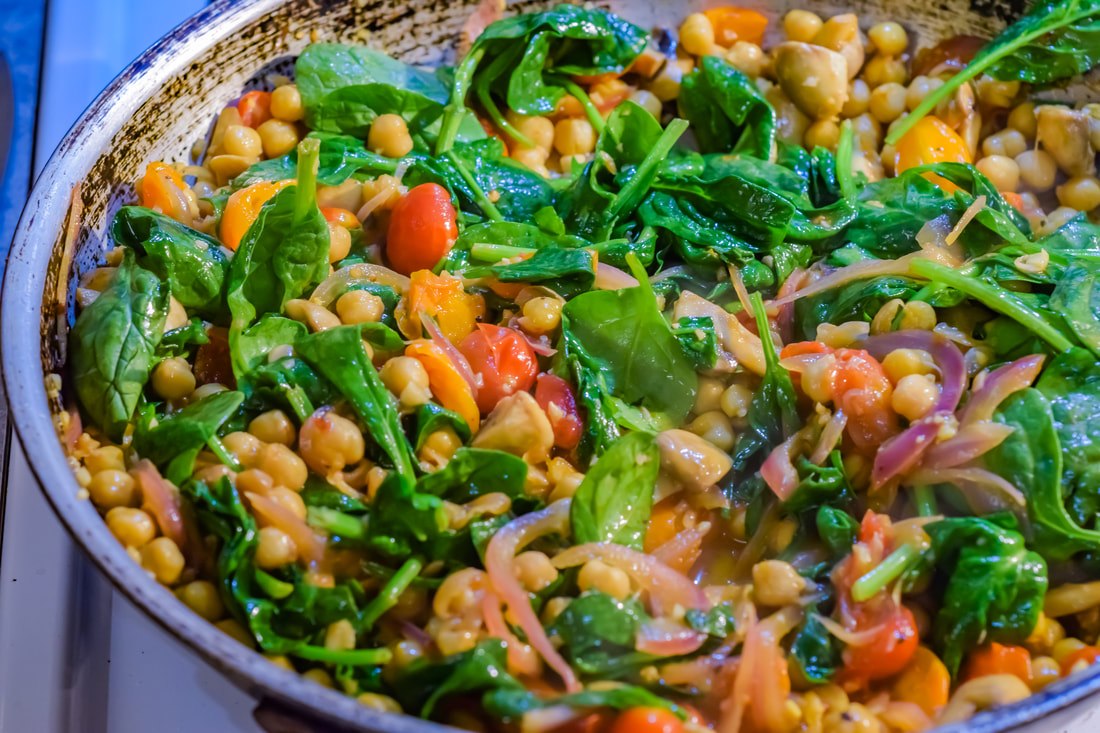
I'm obsessed with this EASY, gluten free, protein packed flatbread. This delicacy from South Eastern France is so simple to throw together and it is delicious. Your Socca should have crispy outer edges and be creamy on the inside. I made a fun breakfast out of it, just by topping it with diced apple, a drizzle of maple syrup, and natural peanut butter. Yummy. The first time I made socca, I had it on the side of some lemony, garlicky chickpeas cooked with mushrooms, tomatoes, onions and spinach. I really liked the combination of adding rosemary and shallot to my socca, but I wouldn't hesitate to try other variations. I must say, Socca is such a great gluten free option. I don't have an intolerance to gluten, but I know a lot of people do. If you are on the hunt for something new to try to fill the void of bread, give this recipe a go. It isn't really quite like bread in texture, it is definitely its own thing, but it is possible you will love it as much as I do. If you do try my socca recipe, let me know what you think in the comments! Socca Recipe
Ingredients:
Method:
0 Comments
Recipe Difficulty: Easy No Bake
Recipe Tags:
My No Bake Granola Bar Recipe Notes
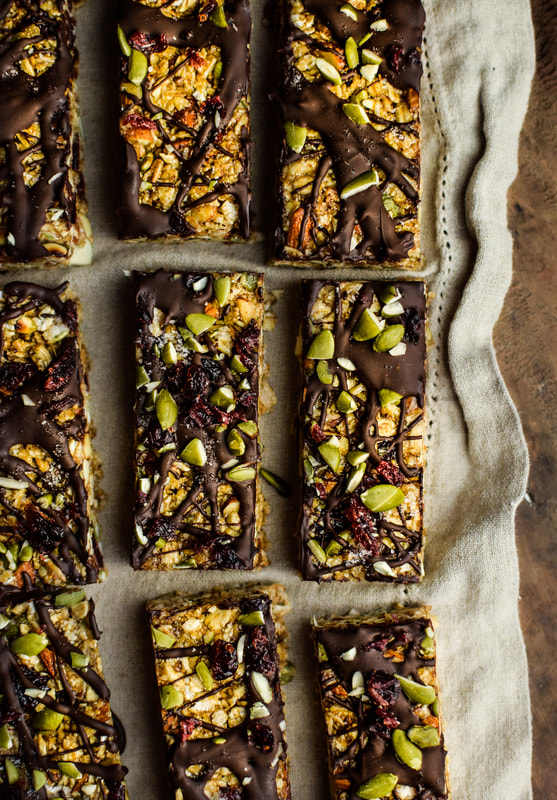
I love these no bake vegan granola bars so much. They are super quick to throw together and I like having them on hand for a quick breakfast or snack. These granola bars are salty, sweet and peanut butter-y.
For sweetness I use vegan honey in these. Specifically, "Blond Vegan Un-Honey" from Single Origin Foods. It's a DELICIOUS alternative that is made from coconut nectar. It drizzles just like honey, and it works perfectly in these granola bars. Feel free to use your favourite nut and seeds combinations. In the granola bars pictured I did sub out some of the pumpkin seeds for dried cranberries. Anything works! I don't always drizzle chocolate on top, but it is definitely good. Just melt some chocolate with a tiny bit of coconut or veg oil until it is "drizzly", and drizzle over the bars before cutting them. I sprinkled the top with extra chopped dried cranberries and pumpkin seeds. I find it easiest to slice the bars before the chocolate hardens. No Bake Honey Nut & Oat Granola Bars Recipe Yield : 24 granola bars 3 cups oats 1 1/4 cup toasted almonds, roughly chopped (big chunks are good for crunch) 3/4 cup pumpkin seeds, toasted and left whole 1/2 cup sunflower seeds, toasted and left whole 3 tbsp ground flax seeds (optional) 3 tbsp chia seeds (optional) 1 tsp ground cinnamon 1/2 tsp sea salt 3/4 cup honey 1/2 cup natural peanut butter 2 tsp vanilla 1. Line a 9 x 13-inch cake pan with parchment paper. 2. Mix all the ingredients except for the honey, peanut butter and vanilla in a large bowl. 3. Heat the honey and peanut butter over medium heat until it bubbles. Stir in the vanilla. Remove from heat then pour the over the oat and nut mixture. Using a rubber spatula fold, stir and mix it all together until it is evenly mixed together. Took me maybe a couple minutes to really get it well combined. 4. Dump into your prepared pan. Now run your hands under some water really quick to prevent your hands from sticking and press the mixture into the pan. You want to really pack it down as firmly and evenly as possible, so they hold together. 5. Pop them in the fridge, then remove and cut into 24 bars. If you want, drizzle some chocolate on top when you take them out of the fridge, sprinkle with some extra dried fruit, nuts and sea salt and then slice before the chocolate hardens. Keep stored in the fridge or freezer. Share with friends or hoard them all to yourself!!!
I buy Elan Products fairly often. They are great quality. Shop below.
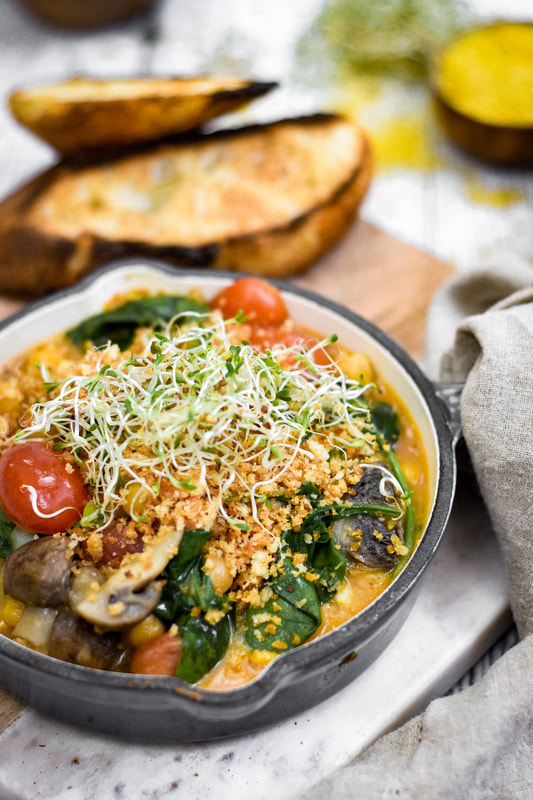
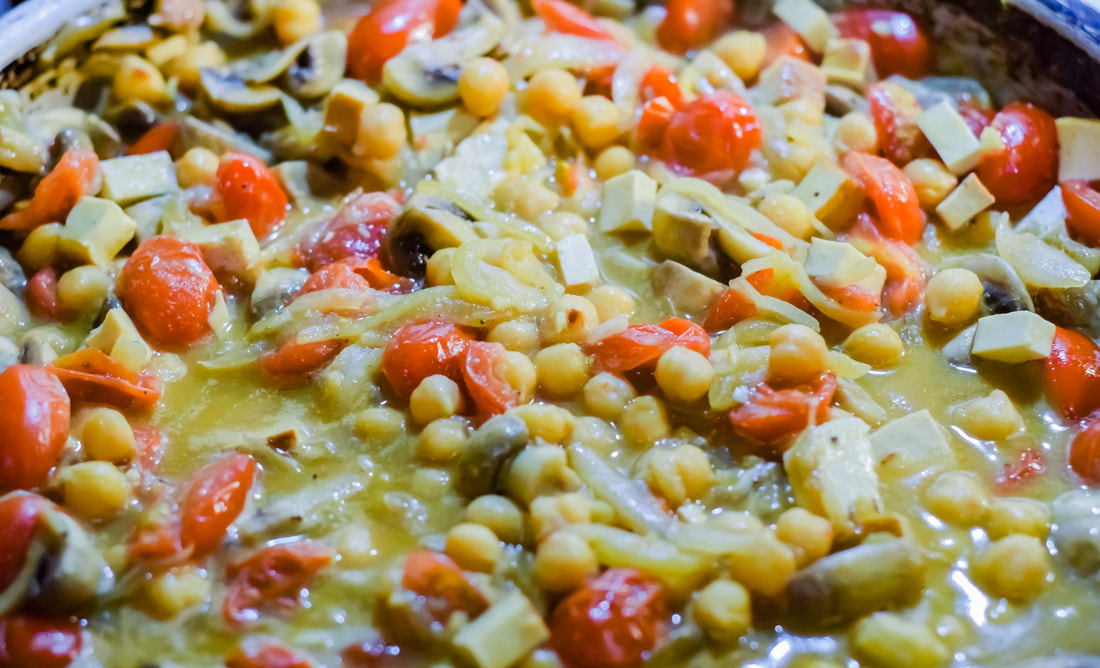
When I worked at the Pearl Eatery in North Rustico, PEI (back in the day) I remember a dish I had on the menu, it started with lemon dressed cannellini beans with garlic and wilted greens mixed in. Ok so they were a base for lamb meatballs and had aged cheddar broth poured over top but people did love it. Anyway that dish is basically how this meal evolved in my own home. It was as simple as a can of white beans, minced garlic and wilted greens dressed with lemon vinaigrette. It has been one of my go to easy & healthy meals for years. Needless to say over time I've thrown in enough random ingredients to figure out what my fav add ins are. That's where the mushrooms, tomatoes and smoked tofu come in. You could really take this in any direction with whatever you have on hand. I've swapped the white beans for chickpeas but next time I might change my mind. Just make it garlicky and bright with the lemon vinaigrette. A good hit of nutritional yeast at the end takes the dish to NEXT LEVEL vegan. (IMHO) Get yourself some crusty baguette or make the socca (gluten free) recipe on this site, and you can start dipping, scooping or piling. So healthy, so delicious. I love it sfm RecipeServes: 4 In restaurant kitchens the goal is always to prepare a dish as much ahead of time as possible without compromising quality. If everything was done last minute people would be waiting hours for their food! For this meal if I was planning to have leftovers vs eating it in one sitting, I would prepare it up until the point of adding the spinach, which is the last step. At this stage I would cool my mixture and keep it in the fridge. Then when I wanted a portion I would simply heat some in a small pan with a splash or so of water, adding my spinach "to order". A note about canned chickpeas: I always used to strain and rinse my chickpeas until the chef I'm working with now at Island Stone Pub (Kensington, PEI) dumped the whole thing into a pot one day to which I replied wtf r u doing? (yes we are allowed to swear, it's a kitchen) and she said: flavour! OK cool. So I tried it at home and realized certainly with this dish I dig it. The liquid from the can helps to create a bit of body/thickness while the liquid reduces a bit. Ingredients:
Method: 1. Heat a couple tbsp of vegetable oil in a large sautee pan over medium high heat. Get your onions and mushrooms into the pan, season with a couple pinches of salt and black pepper. Make sure the pan is hot enough so you can get a bit of colour happening. We don't want sad mushrooms. 2. Once they are softened up add the garlic to the pan, toss things around a couple times. If you aren't sure when they are softened up, just taste an onion. Is it soft? cool. 3. Now I throw in my chickpeas (add the liquid from the can too!!) and smoked tofu. I add the lemon vinaigrette and if it seems like it needs a splash of water to allow everything to heat through while reducing down into a sauce, then add a bit of water Season with some more S+P. Give this step a couple minutes to get going then... 4. Add your halved cherry tomatoes and Nooch (nutritional yeast). Now I like the cherry tomatoes to stay a bit plump, which is why I add them at the end. When they cook too long the skin starts separating from the tomato halves. Now, I taste the liquid/food in the pan as it is reducing and adjust seasonings. I like to mix about a tbsp of cornstarch with water to make a slurry and then stir it into the pan to thicken the broth, making this kind of stew like. Now you can stop here if you are making this recipe ahead. Or add a bit of spinach if you just want one portion and scoop that bit out for your dinner, or add all the spinach if feeding a bunch of people and it's going to be eaten all at once. 4. Add the spinach and don't over cook it. Once it's mostly wilted, it's good. 5. Taste for seasoning. You might want to add a bit more lemon vinny, or serve with a couple lemon wedges on the side. I top it with more Nooch at the table and garlic panko crumbs. I really hope if anyone makes this they love it as much as I do. It truly reminds me that food can be simultaneously vegan, simple and super delicious. Lemon VinnyI keep a jar of this in the fridge for this recipe and for adding to any dish when I want to dress it with a bit of olive oil and added acidity. You can certainly just use straight up olive oil and lemon juice to the dish without making this vinny but..... I like this because I know that the ratio of olive oil to lemon juice is balanced the way I like it without having to adjust too much along the way.
Ingredients: 1/3 cup lemon juice 2/3 cup good quality extra virgin olive oil 1 tsp sugar 3 Tbsp rice wine vinegar 1 Tbsp water pinch of s&p 1. Use a hand blender to emulsify, or whisk really well. Pour it into a mason jar. Refrigerate if you have any leftover (might not I've dumped the whole amount in before)
Recipe Difficulty: Easy
History of Rice Pudding
Rice pudding is a traditional dessert that has been enjoyed for centuries in many cultures around the world. The earliest known versions of rice pudding date back to ancient Greece and Rome, where it was often served as a sweet porridge made with barley or wheat. In medieval Europe, rice pudding was a popular dish among the upper classes, and was often flavored with spices, fruits, and sweeteners like honey or sugar. In the Middle East and Asia, rice pudding has been a staple dessert for centuries, and is often made with aromatic spices like cardamom, cinnamon, and saffron. In India, a sweet dish called kheer is made with rice, milk, and sugar and is very popular in Hindu and Muslim communities. Rice pudding continues to be a beloved dessert around the world, with variations and regional specialties found in many different countries.
My Brown Rice Pudding Recipe Notes
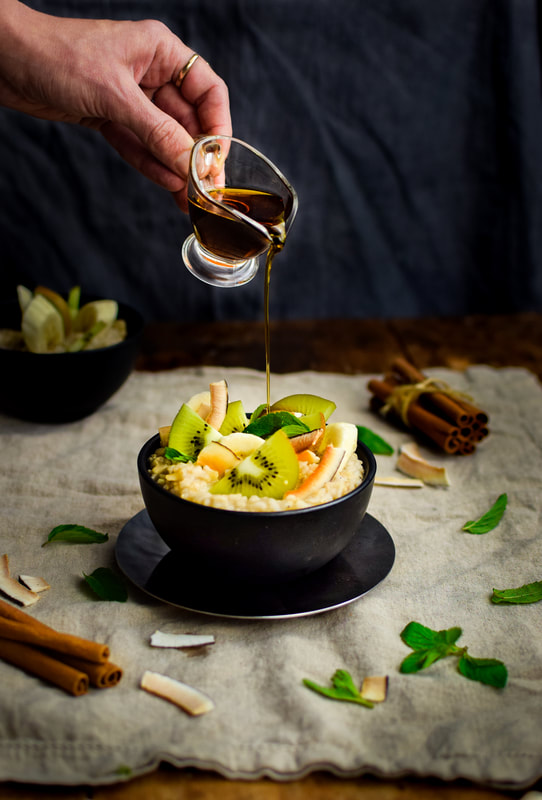
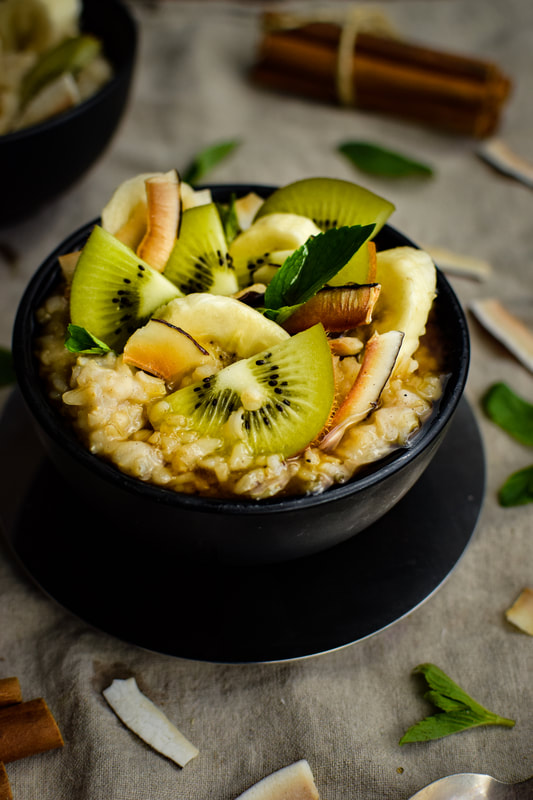
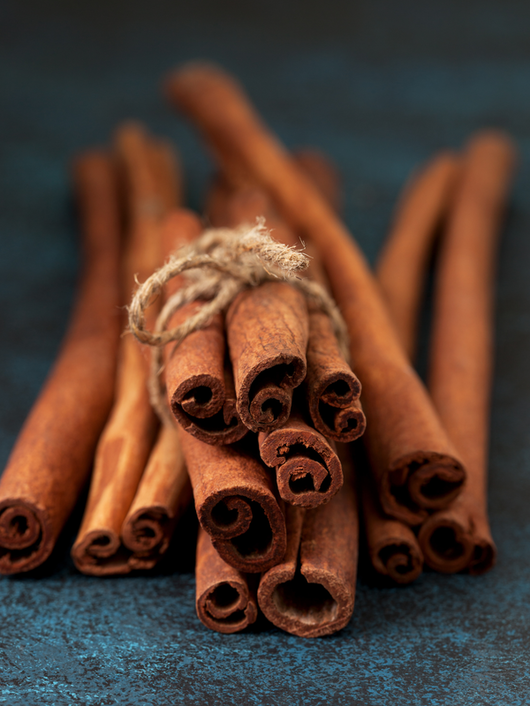
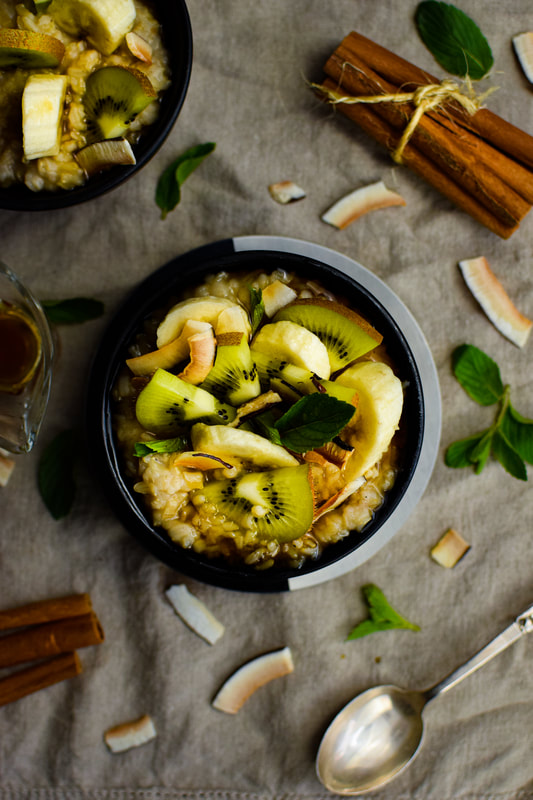
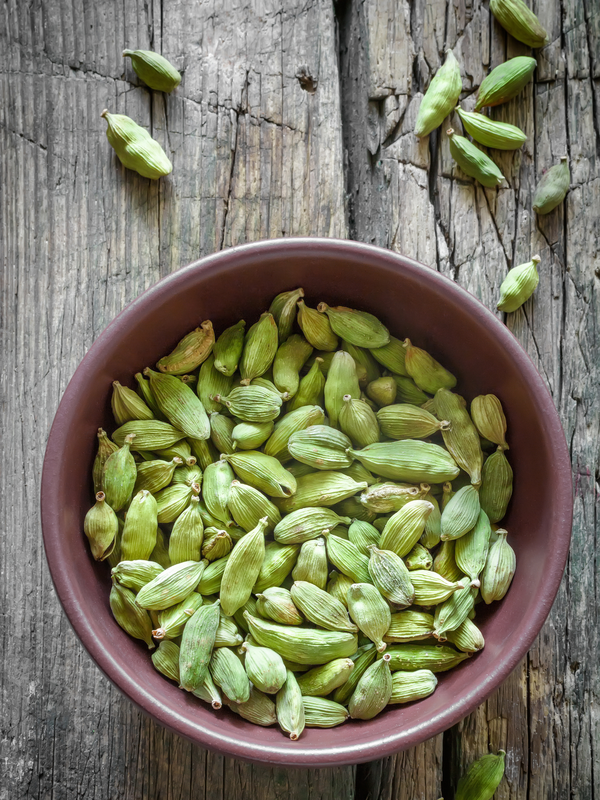
Brown Basmati Rice, coconut milk and warm spices combine for an irresistible breakfast or dessert treat. Creamy, aromatic, and slightly sweet, this rice pudding is perfect comfort food on a cold winter morning. Apparently some people eat rice pudding at room temperature but that isn't for me. I want it served hot. And with the coconut milk and spices happening I want to top this with tropical fruit. Mango, banana, kiwi, pineapple. Garnish with something crunchy say coconut chips or almonds? Breakfast heaven. Or let's be honest this could be a dessert...but it's vegan! With fruit! And brown rice!!! So let's call it breakfast. I have read different methods for making rice pudding. Some tell you to start with cooked rice and go from there, others said to cook the rice in water first then add the coconut milk etc. I just threw it all in a pot and went from there. It was easy and it worked perfectly. Full fat vs lite Coconut Milk Lite coconut milk and full-fat coconut milk are both made from the meat of coconuts, but they are processed differently. Lite coconut milk has less fat content than full-fat coconut milk. It is made by mixing water with coconut cream to create a thinner consistency, while full-fat coconut milk is made by using less water and creating a thicker, creamier consistency. Lite coconut milk is often used in recipes where a lighter consistency is desired, while full-fat coconut milk is used in recipes where a rich, creamy texture is desired. There-in is my dilemma when I go to make this recipe. Healthier Trisha chooses lite coconut milk and that is what I use most of the time. Chef Trisha chooses full fat coconut milk if making this for a treat, or guests, or for serving in a restaurant. Full fat definitely gives the best flavour and creamiest texture, lite is still tasty and serves my purposes for breakfast during the work week. Cardamom pods vs Ground Cardamom Cardamom pods and ground cardamom are both made from the seeds of the cardamom plant, but they are used in different ways in cooking and baking. Cardamom pods are the whole seed pods of the cardamom plant, they have a strong, unique aroma and flavor that can be released by crushing or grinding the seeds. They are often used whole in dishes like curries, biryanis, and other savory dishes, and are also used in sweet dishes and confectionery. Ground cardamom, as the name suggests, is the seeds of the cardamom plant that have been ground into a fine powder. It is more convenient to use than the whole pods, and it is often used in baking and sweet dishes, like pastries and desserts. The flavor of ground cardamom is less intense than that of whole cardamom pods, so a little more can be used to achieve the desired flavor. I really like using cardamom pods in this recipe. I personally like the stronger flavour. I also like when I get a cardamom pod in one of my rice pudding bites. I don't think everyone would enjoy this, however. Some people would probably pick them out. In that case, I would likely suggest using ground cardamom. I typically use 8 whole pods, crushed, in this recipe. The last time I made it though, I only had ground cardamom on hand. I used about 1/4 tsp and that seemed to be the right amount. You can always start with a lesser amount of spice in this recipe, and then taste it towards the end and sprinkle in a bit more to your liking. Maple Syrup I choose to use maple syrup in this recipe, because it is what I used most often in my kitchen to naturally sweeten things. If you don't have maple syrup, you can substitute brown sugar. White sugar wouldn't be my choice here, you want the deeper caramel-y flavours that darker sugars provide. The amount of maple syrup in this brown rice pudding doesn't result in a super sweet pudding. I always drizzle some over top before serving. Just like the spices, as I mentioned above, you can simply sweeten to taste with your preferred sweetener. |
Author I'm Trisha Archives
May 2024
|






 RSS Feed
