|
Recipe Difficulty: Easy
My Veggie Tartare Recipe Notes
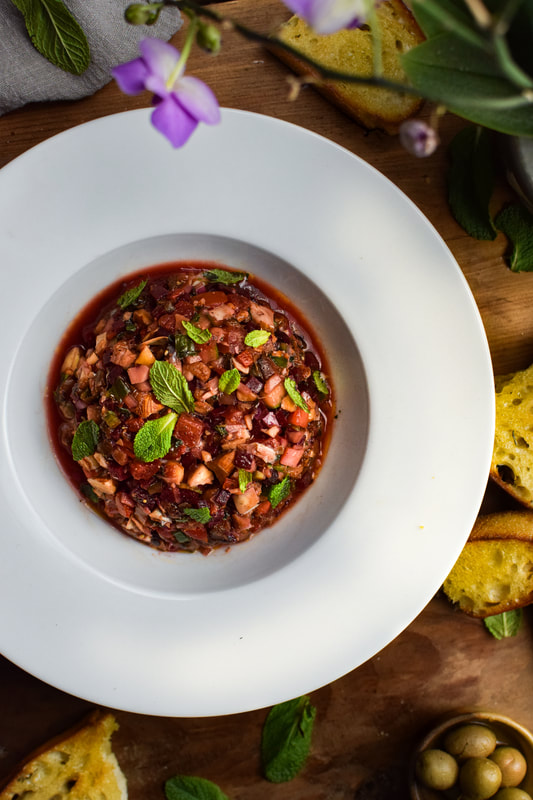
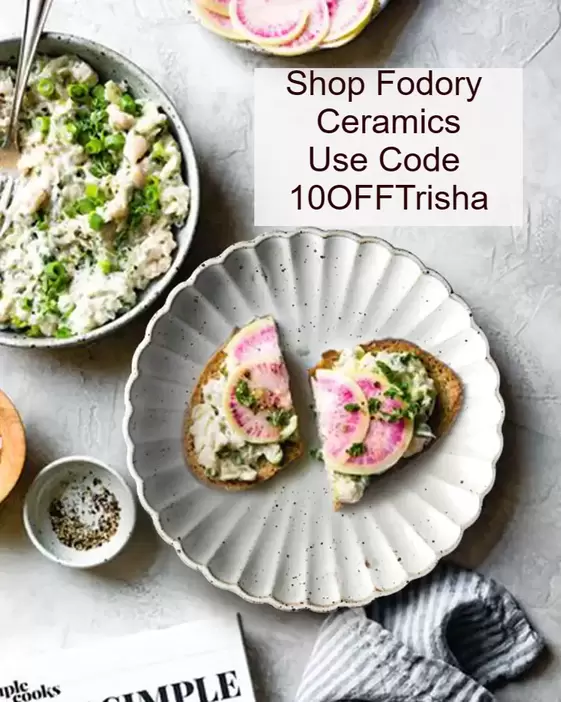
When I was in Spain, "Veggie Tartare" is something I saw on several menus. I ordered it at a restaurant called Matiz. (I shared about this and other meals I had in this post) The version I had in Spain used different ingredients than I do in mine, but they both have the same vibe. Something bright, fresh and flavourful with lots of different textures that can be spooned onto grilled bread, potato chips or just eaten by the spoonful. The other similarity is that while eating both tartars, I wanted something else to accompany it. Olives, Hummus, vegan cheese. The most enjoyable meals to me are those in which I can nibble away at casually, mixing bites of this and that, and inevitably finding the most perfect flavour combinations. How to Serve This Veggie Tartare I like this veggie tartare with a good quality sourdough or multigrain loaf. I slice the loaf, drizzle with olive oil and pop into a 425F preheated oven until golden on one side, then flip to finish. While I haven't tried eating this tartar with good quality kettle chips, the next time I make it, I'm definitely picking up a bag. You'll also notice a lot of liquid comes off the tartare. I like this juiciness. It's kind of like bruschetta in that if you serve it with really well toasted bread, the extra juiciness is welcome. I find myself mopping up the liquid with more bread at the end, it's delicious. Leftovers The veggie tartare definitely keeps well in the fridge for a few days. I even tucked some of my leftovers into a sandwich with grilled sourdough bread, hummus, cheese, cucumber and sliced tomato. Delish. 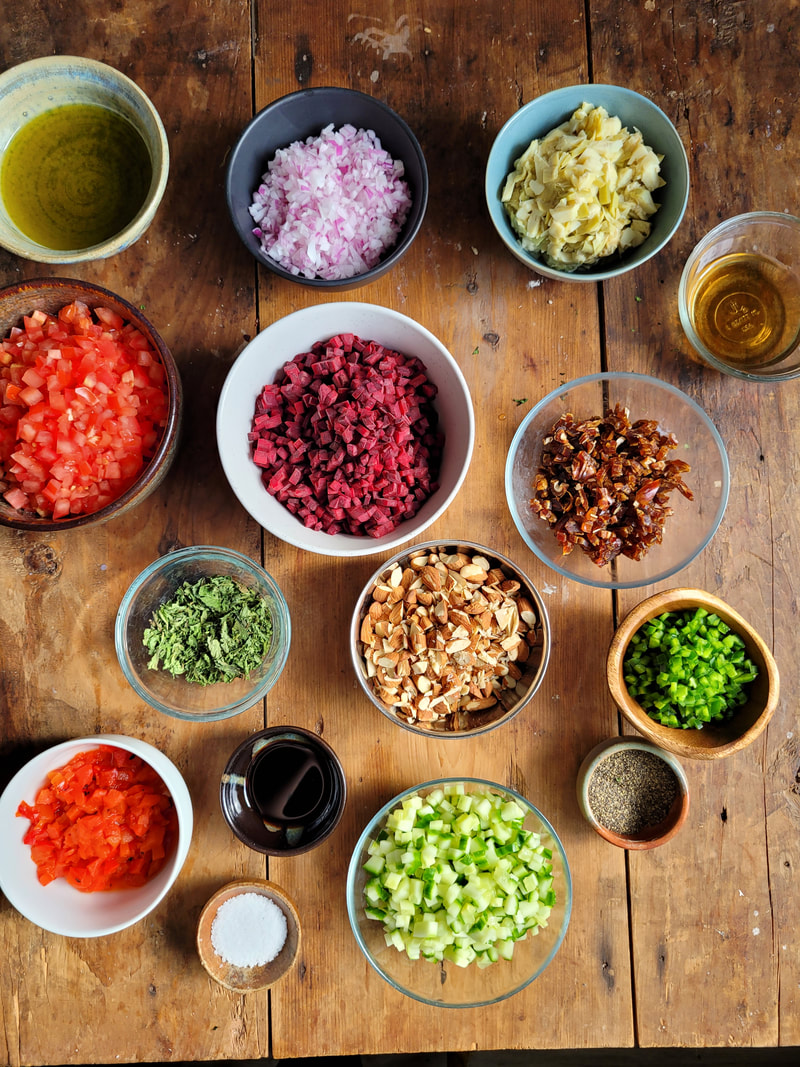
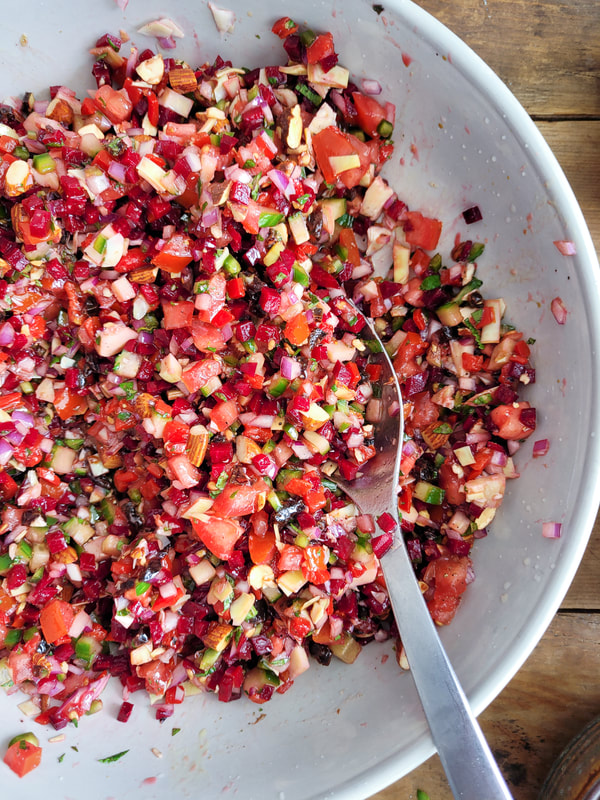
What's in my veggie tartare? This recipe is almost, but not entirely, made of raw whole food ingredients. I season the mixture with salt, pepper, and cumin, and then dress it with olive oil, apple cider vinegar, and good quality balsamic vinegar. The rest of the tartare is made up of the following ingredients:
Almonds & Dates The almonds and dates are an integral component. The almonds give texture and a bit of richness, and the dates add an enjoyable chew and a bit of sweetness which helps to bring balance to the dish. Salt and Pepper This veggie tartare needs to be well seasoned, not enough salt and pepper and it will fall flat. I ended up with 5 - 6 pinches of sea salt. Less of the pepper, but I still like a good amount in this. Just taste as you go, you don't want it to be too salty or peppery either of course! 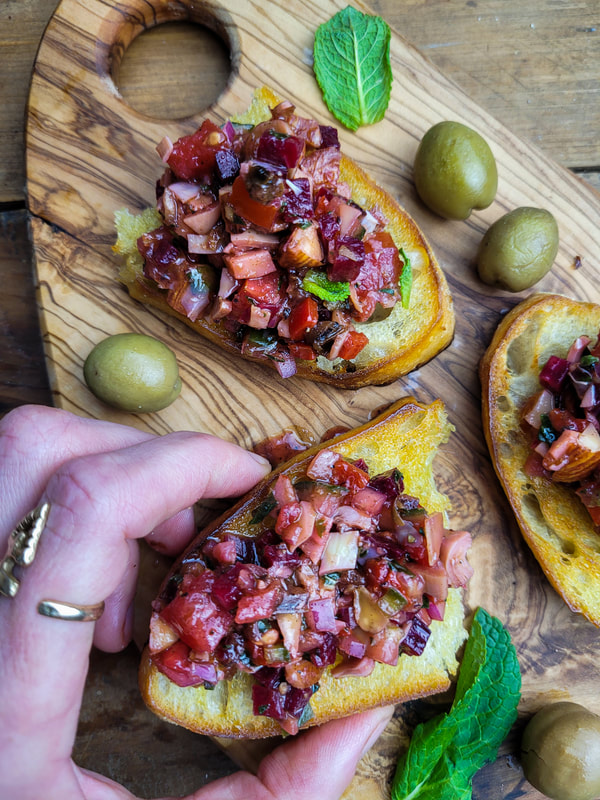
Tip for success
A Good Sharp Knife This recipe does require a bit of knife work. I love dicing things into uniform pieces, so for me it isn't a problem. It's important to start with a sharp knife. A dull knife will slow you down, and honestly there is nothing worse when you have a lot of chopping to do to realize your knife is dull. I get my knives professionally sharpened only once in awhile. I manage to do it myself during the in between time. My brother gave me a good quality Japanese knife and sharpening stone from a maker in Vancouver, and before using that I didn't know what I was missing. An investment, but if you love to cook it is worth it. 
Hey friends! This page contains affiliate links. If you choose to purchase after clicking a link, I may receive a commission at no extra cost to you. Your support means a lot, and I thank you!
0 Comments
I started my food photography journey in 2018. My earliest images were honestly kinda terrible. I'm not upset about that. I bought a camera and taught myself through trial and error, training my eye, looking at images by people I admire. The way to learn is by making mistakes. LOTS of them. I know that I'm still making "mistakes", even if I don't yet know what they are. I do get compliments on my images all the time, and I find it hard to accept them because I'm constantly striving to be better, and I'm constantly admiring gorgeous images by other food artists. All of this is also, OK.
In the past 4 or 5 years, I have learned a lot, and my photography has improved significantly. I wanted to outline some key lessons I have learned, and perhaps it will make the process a little bit easier for someone else out there who is just getting started. 1. Lighting How it started My very first images were created in a lightbox that I made by myself out of white cardstock and tissue paper. It wasn't very big, and didn't allow for much room to create a scene. My images had weird colour balance, were often a bit washed out from too much light, but it served it's purpose and allowed me to get familiar with a DSLR camera. I just used generic lamps that shone through the tissue paper (paper acts as a diffuser) and lit my subject that way. I'm sure I would be able to use a light box today with more skill than I did when I first started, but I have no interest in trying. The spaghetti aglio e olio with mushrooms pictured below is a recipe that has been on my blog for a long time, the image below I think used to be even worse until I learned to colour correct a bit. There are definitely worse images than this one somewhere haha I just can't find another one at the moment. I'm sure they exist on an SD card somewhere. 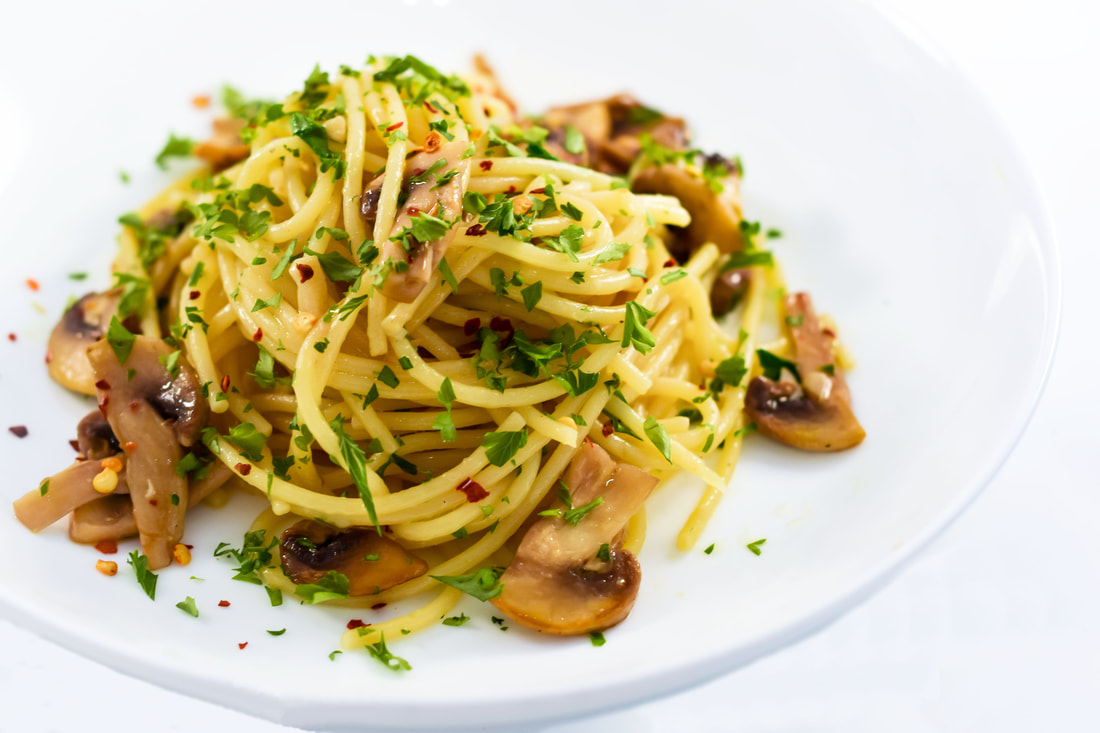
Eventually I decided to invest in an inexpensive lighting system just on Amazon. I'm honestly probably due for an upgrade, but I will undoubtedly hang on to what I have as long as possible. The set below is pretty much identical to what I have. These lights and an old wooden table situated near a window are two key things that have helped me improve. I use a wooden table because I like that I can use it as is for photographing certain dishes. I also own a few backdrops and use them regularly as well. If you have an ugly table, that's ok, just invest in some backdrops and you'll be good to go.
 How it's going The image below is a more current image of the same recipe. Do I like this image? I do, but it doesn't mean I don't think there is room to improve. Is there an obvious improvement from my lightbox image? I think so! I placed it on my wooden table, and I used the soft box lights. A MISTAKE I MADE FOR A LONG TIME USING THESE LIGHTS. A mistake I made for the longest time is using all three of my lights to light up my scene from all angels. This just washes out your image. A side lit scene or a back lit scene are two approaches that work a lot better. I now tend to really pay attention to how the light is hitting my dish, and I will move the light around until it looks good. You're trying to accomplish depth through shadow and highlights. This is something I still feel like I am learning, but there is a lot of room to play around. How strong your shadows are will affect the final feel of your image. Of course I use adobe lightroom to edit my photos, and have learned a lot of things over the years in that sense too, but it's hard to edit an image to look good if the lighting is terrible. 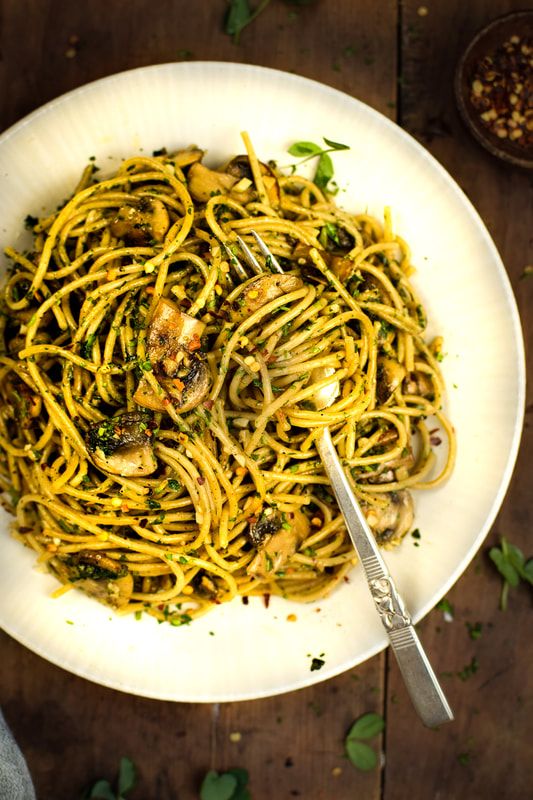
2. Blurred out background
Blurring out the background is an easy way to make whatever your taking a photo of stand out as the focal point. This blurring effect is also known as "Bokeh" and it occurs when your camera lens renders an area to be out of focus. Not every lens will be suitable to make this happen. I'm not an expert on the topic, but I have a 50mm lens and a 35 mm lens that I use frequently for food photography, and they are great choices for achieving this. They both have wide apertures which is what you want. Put your camera in manual mode, and adjust the F/stop up and down to understand the difference, get to know your camera. The lower the F/stop number the stronger the Bokeh effect will be.
Note that the closer you are to your subject, what will be in focus and the focal point of your image will change. If you are using a prime lens like the ones I suggested above (no ability to zoom), you can practice physically moving yourself closer and further away from the subject. Take photos to see the difference between images taken at different distances. The 35 mm linked below is definitely my favourite. It's easier to get overhead shots from a reasonable distance. 
3. Use different heights in overhead shots.
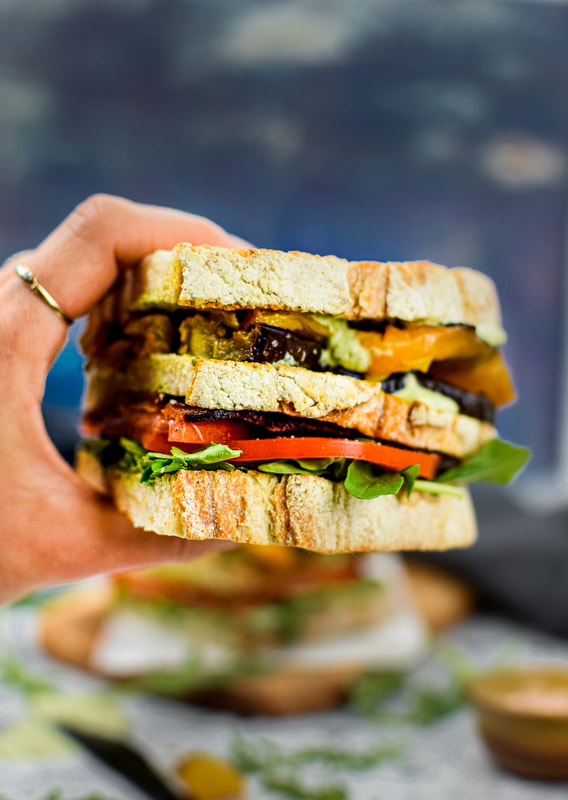
When taking a birds eye view photograph, you can create more dimension by having objects at different heights. I stacked my grilled bread on top of each other, and you can see a flower is blurred at a different height, closer to the lens. This is something I've just started trying to integrate into my photos. It's helpful to have props to work with, which is part of the challenge. I work with what I have laying around my house for now, but I know when I can invest in a few more pieces it will help to apply this concept in my photos.
4. Textured backgrounds
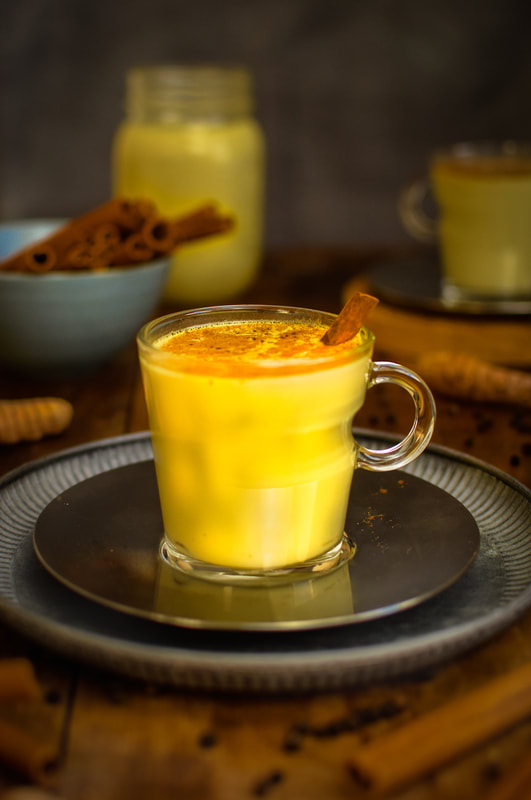
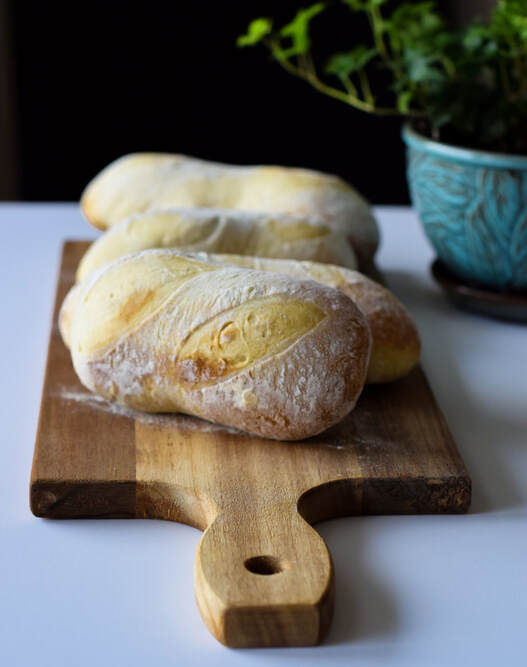
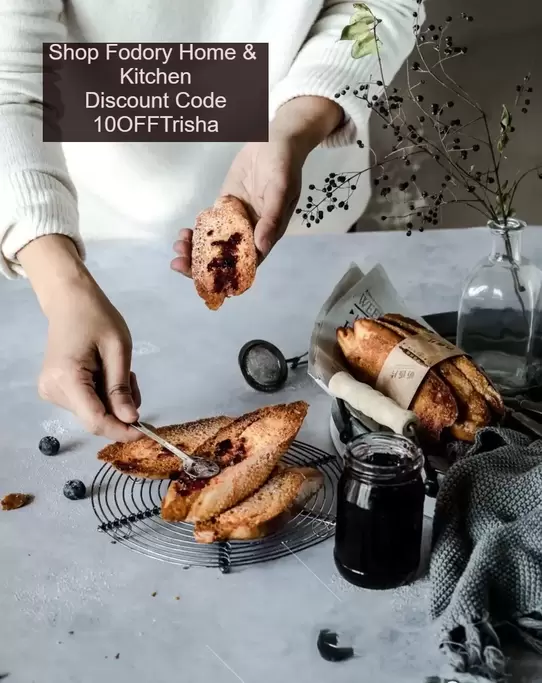
For a long time I just had foam boards from Walmart as background. I had a black one and a white one. They served their purpose for a time. I eventually bought a fabric backdrop from Fodory. Compare the two images above. In the photo of my golden milk, I'm using the fabric background. In the photo of bread, I'm using a black foam board. You should be able to easily see the difference. (not to mention the terrible white balance of the bread photo, this was taken in my early learning stages.) The texture from using the cloth background adds way more depth than something that is flat and solid in colour. I only have a dark grey fabric backdrop at the moment, but again I want to invest in a few more. If you have a space with brick wall, or some kind of paint treatment on your wall that lends texture, that can always work too. I'm in a small apartment and there's nothing too esthetic about it so the fabric trick works for me.

5. Create Movement with "Curves"
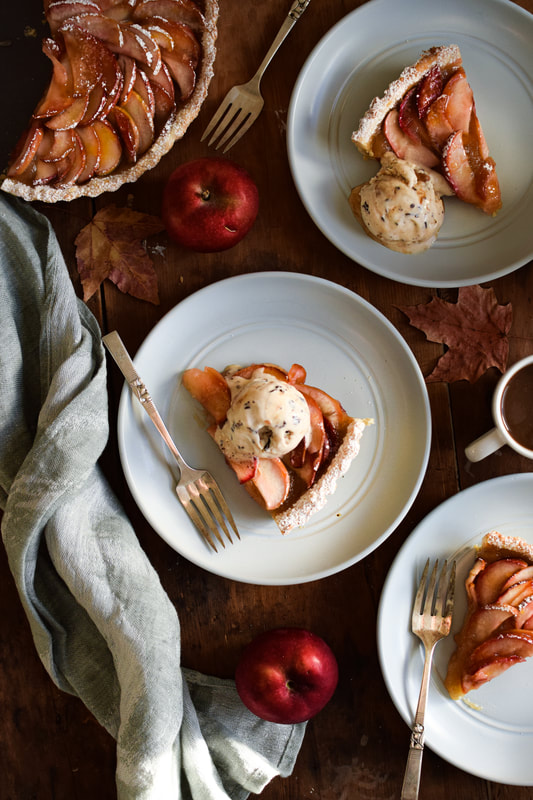
This is a simple way to improve your photo. By creating curves that your eye follows when you look at an image. Instead of placing things in just one vertical line, see how the plates are staggered, where if you were to take a pen and draw a line through the image, you can see where the eye travels. The forks and the linin cloth do the same thing. Practice moving things around on your surface to create "s" and "c" shapes. You can use dishes, herbs, food, linens. This will create a lot more depth and visual interest. Before I use my DSLR, I find it helpful to use my smart phone to look at my scene. I'll snap a few shots with the phone, or just look at my scene using camera mode. I find I can "see" what the overall image will look like better this way since the phone essentially creates a border blocking out unnecessary parts of the room or table that distract my eye. Once it seems closer to what I want, then I will look through my DSLR and snap some photos. I often move things around for 10 solid minutes before I find a configuration that I'm happy with, so give yourself time and room to play. I literally will have like 30 - 50 images on my DSLR and chose 3 that I like for editing and posting.
While I hold my camera in my hands for a lot of images, I use a tripod occasionally too, for photographs and also for creating video that is more cinematic looking than video captured using my phone. Keep in mind a tripod is holding an expensive piece of equipment. I wouldn't buy anything low quality and flimsy and risk it falling and breaking my camera. Manfrotto is definitely one of the most popular brands of tripods used by food photographers that I have come across.
Recipe Difficulty: Easy
Recipe Tags:

My Raw Caramel Slice Recipe Notes
This is THE BEST RAW(ish) CARAMEL SLICE. I made this so many times to get these the way I wanted them to be in my head. A roasted almond base sweetened with dates, a super gooey caramel layer made from peanut butter, dates, a bit of maple, vanilla, and sea salt (or you could sub your fav nut/seed butter), and a fudgy chocolate layer made from dark cocoa powder, coconut oil & maple. They are divine, and I can't imagine a better for you treat that is more satisfying to my taste. How to Store my Raw Caramel Slice I recommend keeping these in the freezer. I make myself a cup of tea, grab a couple of these to enjoy right from the freezer. The caramel will hold together better and still be really gooey, plus they soften fairly quickly at room temp anyway, if you want a stickier caramel situation. These bars wouldn't be my choice for packing in a lunch box or taking on a picnic. They are however perfect for when you are at home and want something sweet with your favourite cuppa. 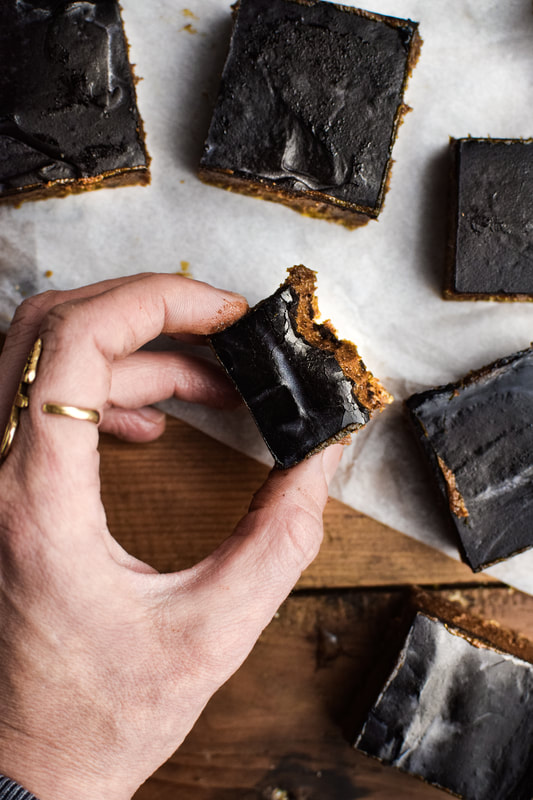

Substitutions
These bars are gluten free and dairy free, but they definitely contain a whole lot of nuts and I know a lot of people have allergies. I haven't tested a nut free version of this recipe. If I were going to try however, I would substitute oats for the almonds in the base. My guess is spreading them on a sheet pan and popping them in the oven until a bit golden would be a good way to add some toasty flavour. (I have tested this recipe with raw almonds and roasted almonds, roasted were the clear winner) For the gooey middle, if you were able to consume almond or cashew butter, those would be my first choice. Otherwise I know nut free peanut butter substitutions exist. How good they are, I'm not sure, but my hope would be they would blend up with the dates to be something tasty. An extra splash of vanilla might not hurt. 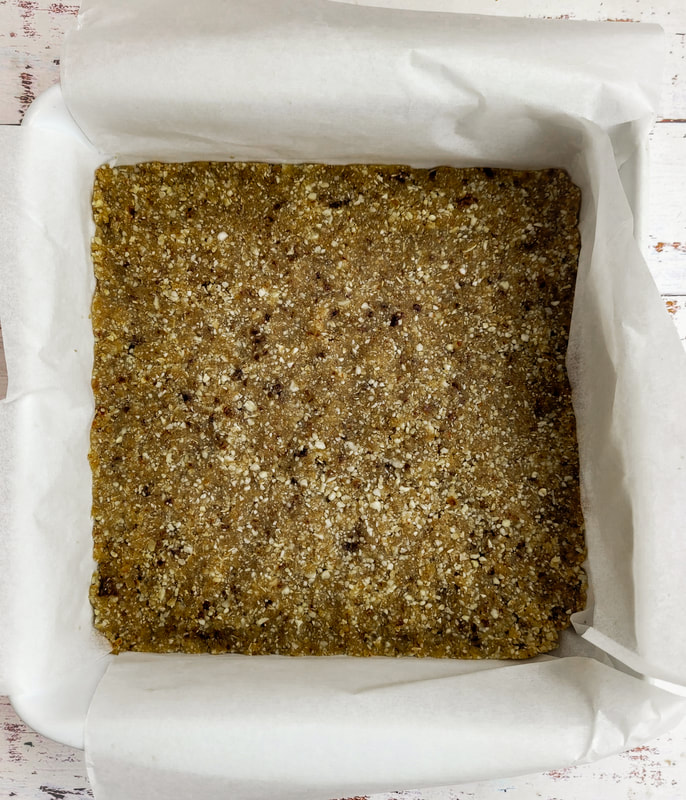
Roasted Almond Base
The base comes together easily in a food processor. I just blitz everything together until it is in really small pieces and holds together when you squish some between your fingers. When you are pressing the mixture into your pan, you might find it helpful to dampen your fingers with a bit of water first. I have tried so many combinations of things for my base. Raw almonds with some oats and walnuts, oats and raw almonds, but then I tried just straight up roasted almonds along with the other ingredients and it was my favourite. Not at all surprising! 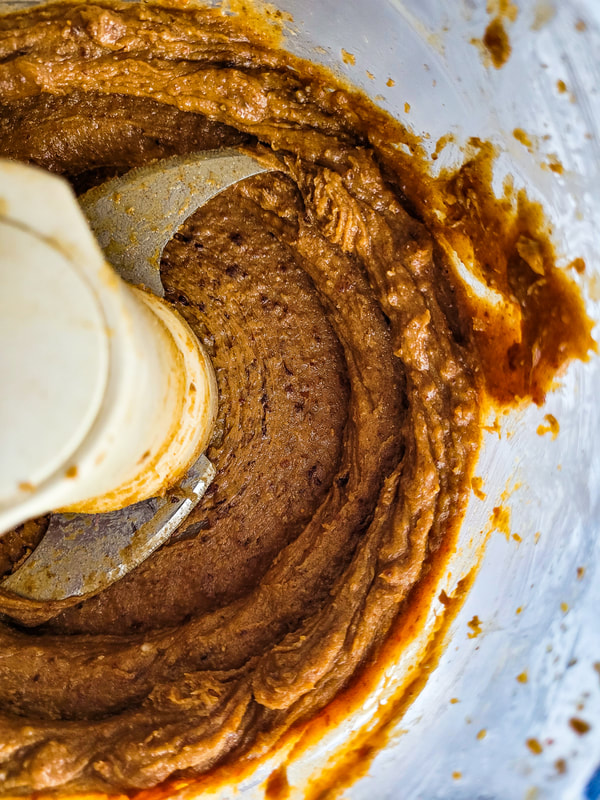
Peanut Butter & Date Caramel
This stuff is some kind of vegan magic. My original raw slice recipe had a thinner layer of caramel, and it took me awhile before I realized I just wanted more. I want the caramel to be the star, I don't want the dark chocolate to be the predominate flavour. I basically just want a bar with a base and a topping to provide shelter for this caramel gold. I've thought many times about making component as a dip for apple slices or whatever else. I would just thin it out with a bit more plant milk. What a great snack idea. If you find yourself eating a few bites of caramel while making these bars, don't worry, I do it every time. 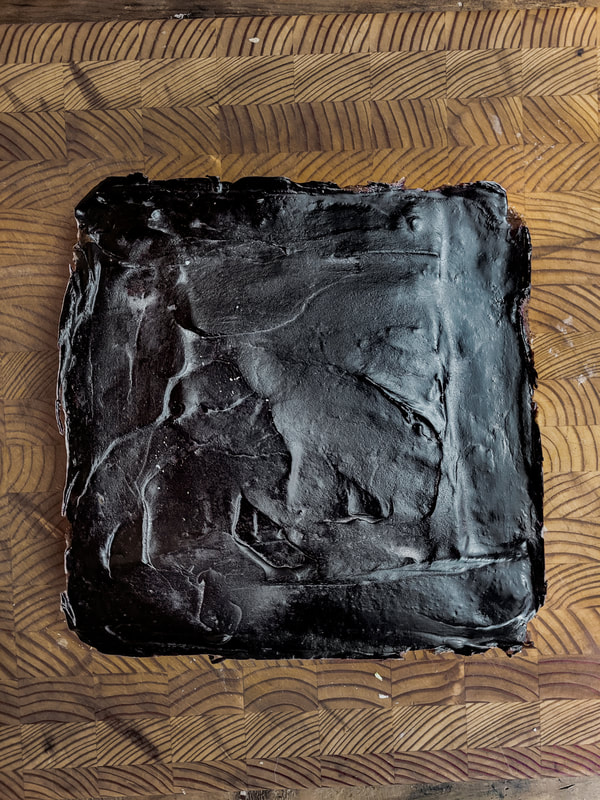
Fudgy Chocolate Layer
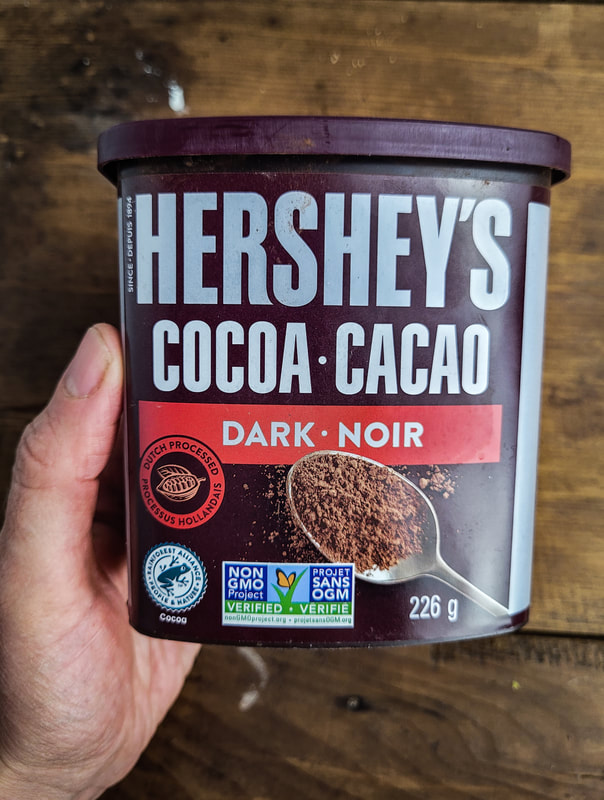
I tested different chocolate layers over time, and this is where I landed. I used to just melt chocolate chips and pour it over top. I enjoyed the hard chocolate shell as a contrast to the rest of the gooey bar, but after navigating away from that and testing toppings using cocoa powder, I just like it better. I used Hershey's Dark Chocolate Cocoa Powder in my recipe. I typically buy Camino, but the store didn't have it, and this has a vegan label so good to go. It has great rich, dark chocolate flavour and I would definitely buy it again. You will need to melt the coconut oil in a small sauce pan for this recipe and stir in the remainder of ingredients. I wouldn't recommend trying to microwave the oil and stirring everything in after. I tried it (although with a different ratio of ingredients) and ended up with a clumpy mess. Maybe it would work with my current ratio of ingredients, but I will never risk it again to try.

Hey friends! This page contains affiliate links. If you choose to purchase after clicking a link, I may receive a commission at no extra cost to you. Your support means a lot, and I thank you!
Recipe Difficulty: Easy
Recipe Tags:
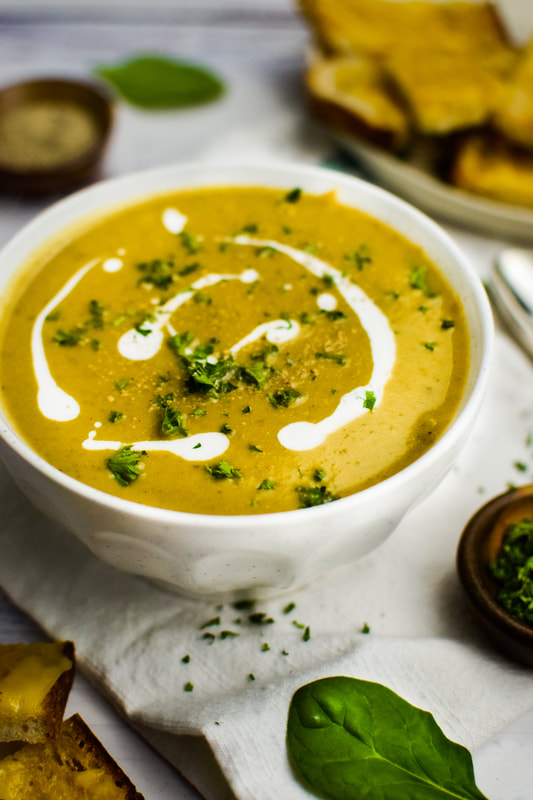
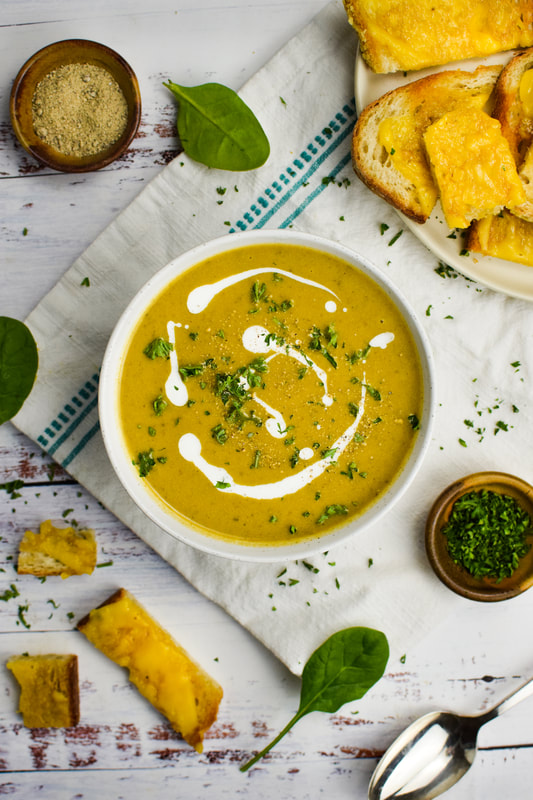
My Broccoli Soup Recipe Notes
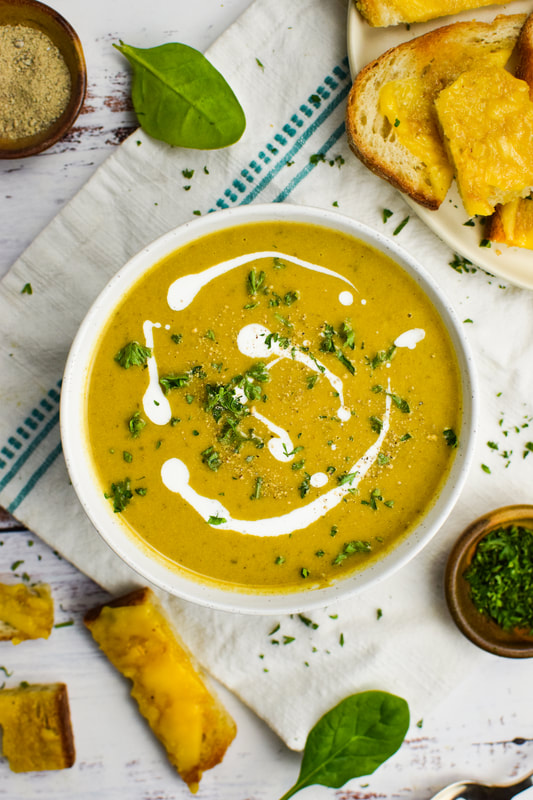
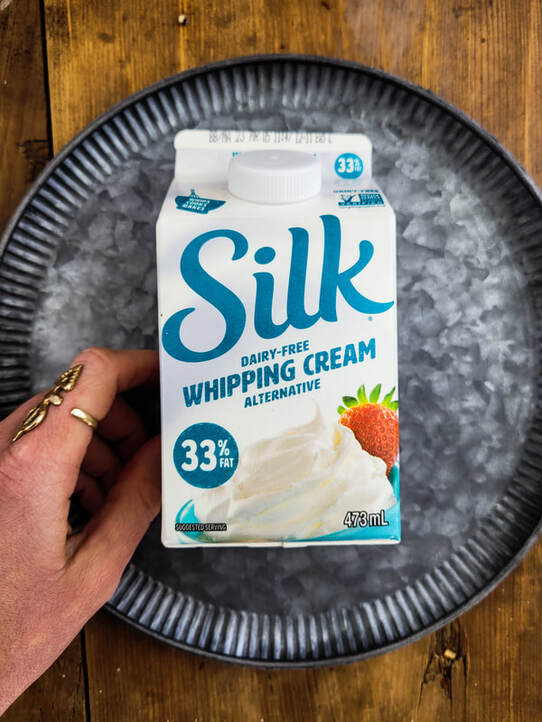
I love making broccoli soup when I want something delicious that is also full of green goodness. In addition to broccoli, I also choose to blend in some fresh spinach into my soup towards the end. This step is optional, but I just like the extra green nutritional boost. The soup will still be delicious without it. For garnish, you could add a swirl of vegan cream, vegan cheddar, parsley, croutons, whatever you like really.... or don't garnish it at all. To make the texture of this soup super creamy I add a bit of potato, and raw cashews which when blended with water and added to this soup, act like cream. If you have a cashew allergy, I would recommend picking up some plant based whipping cream at the store. I used a bit of Silk brand whipping cream to garnish my soup because I had it on hand from another project. The taste is delicious. You could use it in lieu of cashew cream. The only thing to keep in mind is that the quantity you add might be different. I would add a bit at a time to taste. I'm guessing you'd need less volume of the store bought whipping cream compared to the cashew cream to add richness to this soup. 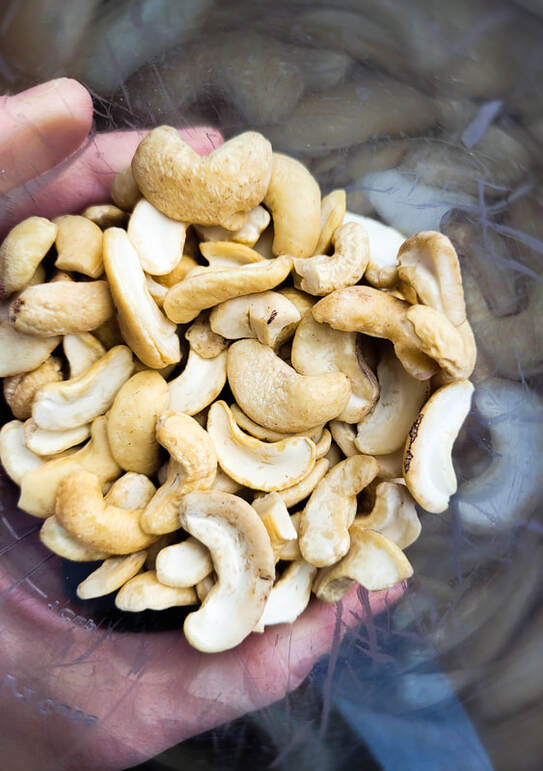
Roasted Garlic
I use roasted garlic in this recipe. I make more than I need, because I like to stash some in my freezer. Turning the oven on for a couple of heads of garlic seems a little much, so might as well make a big batch! It's really simple to do, but I'm sure you could just replace the two heads of roasted garlic with maybe 8 cloves of chopped fresh garlic, or more, I like garlic a lot. If you want to try roasting some, it's really fun, and you can use it in so many things. Smoosh it onto grilled bread with hummus for one (or blend it into a batch of hummus), or use in basically any soup, stew or sauce recipe. All you need to do is cut the tops off your heads of garlic, place inside some tin foil and drizzle with olive oil. Removing the loose excess peels is a good idea too. Wrap it up tightly in tin foil and place in a 425F oven for about 75 minutes. I checked after 60 minutes and it wasn't quite done. Let the garlic cool, and when you're ready to use some, simply squeeze the cloves out with your hands. I save the cut tops of garlic, and the roasted peels for my freezer bag of veg scraps for making vegetable stock. 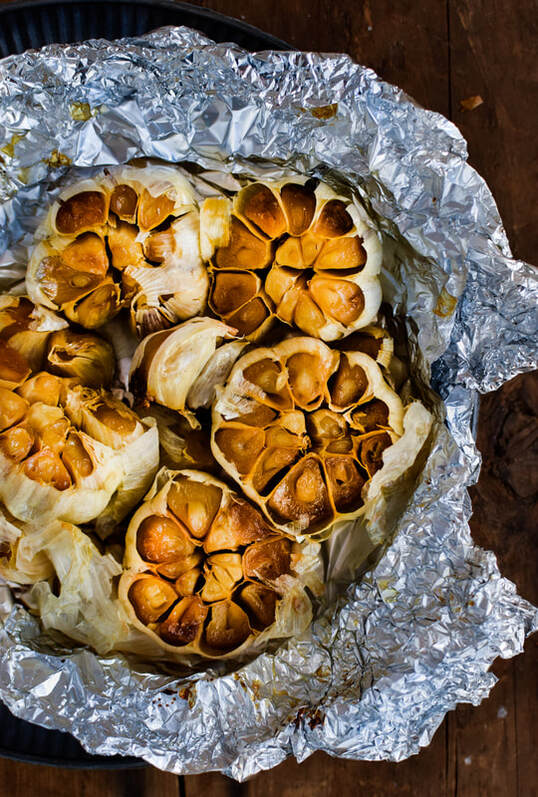
Vegan Cheese
Melting some shredded Vio Life Vegan Cheddar into this soup is a worthy addition. I don't add it to the full pot, I just heat a single portion of soup, sprinkle in a small handful of cheese and allow it to melt in. Then if you want, you can garnish with a bit more on top. I'm sure other brands would work too, but Vio Life is what I have tried, and I have a feeling it's a widely available product considering I can get it here in Canada, and it was also available in Spain.
I don't add the cheese to the full pot of soup, because sometimes I prefer to make cheesy toasts for dunking vs grilled bread. (I always want bread of some kind) I mean, you could put cheese in the soup AND on some toasts, but my perspective is that I am simply trying to add a bit of decadence to my meal, not have vegan cheese as the main event. 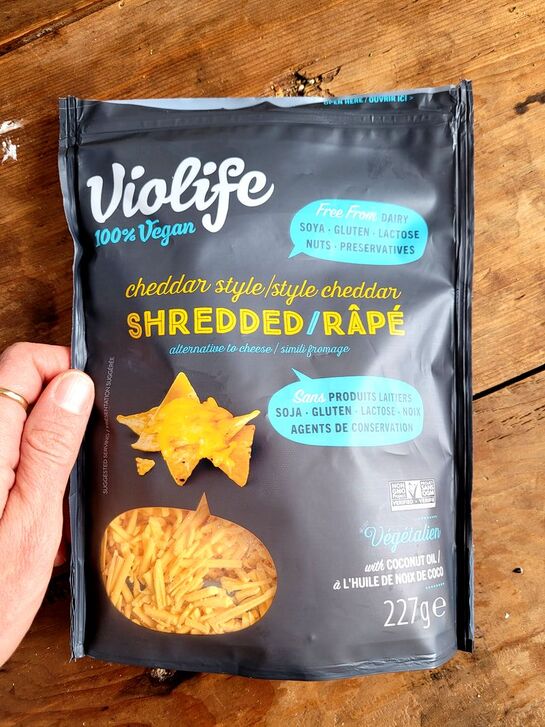

Hey friends! This page contains affiliate links. If you choose to purchase after clicking a link, I may receive a commission at no extra cost to you. Your support means a lot, and I thank you!
|

Author I'm Trisha Archives
May 2024
|


 RSS Feed